True story:
I love interior design. I’ll watch anything around organizing, decluttering, and home makeovers, from Tidying Up with Marie Kondo to those hypnotizing “watch me rearrange my entire living room at 11pm” TikToks. If it involves a dramatic reveal, I’m in.
Meanwhile… my husband had an entire room to himself (his office) for almost 2 years and basically furnished it with his computer desk and a couple random book shelves that didn’t quite fit the space.
So I finally stepped in — and because I am who I am — I turned his workspace into a full-blown interior design project powered by AI.
And let me tell you: Using AI for interior decorating? Underrated. Most people I talk to don’t even think to use AI for this kind of thing, but I’m a super visual person, and it’s been an amazing tool for my home upgrade projects.
Here’s exactly how I did it, plus a few tips I learned along the way.
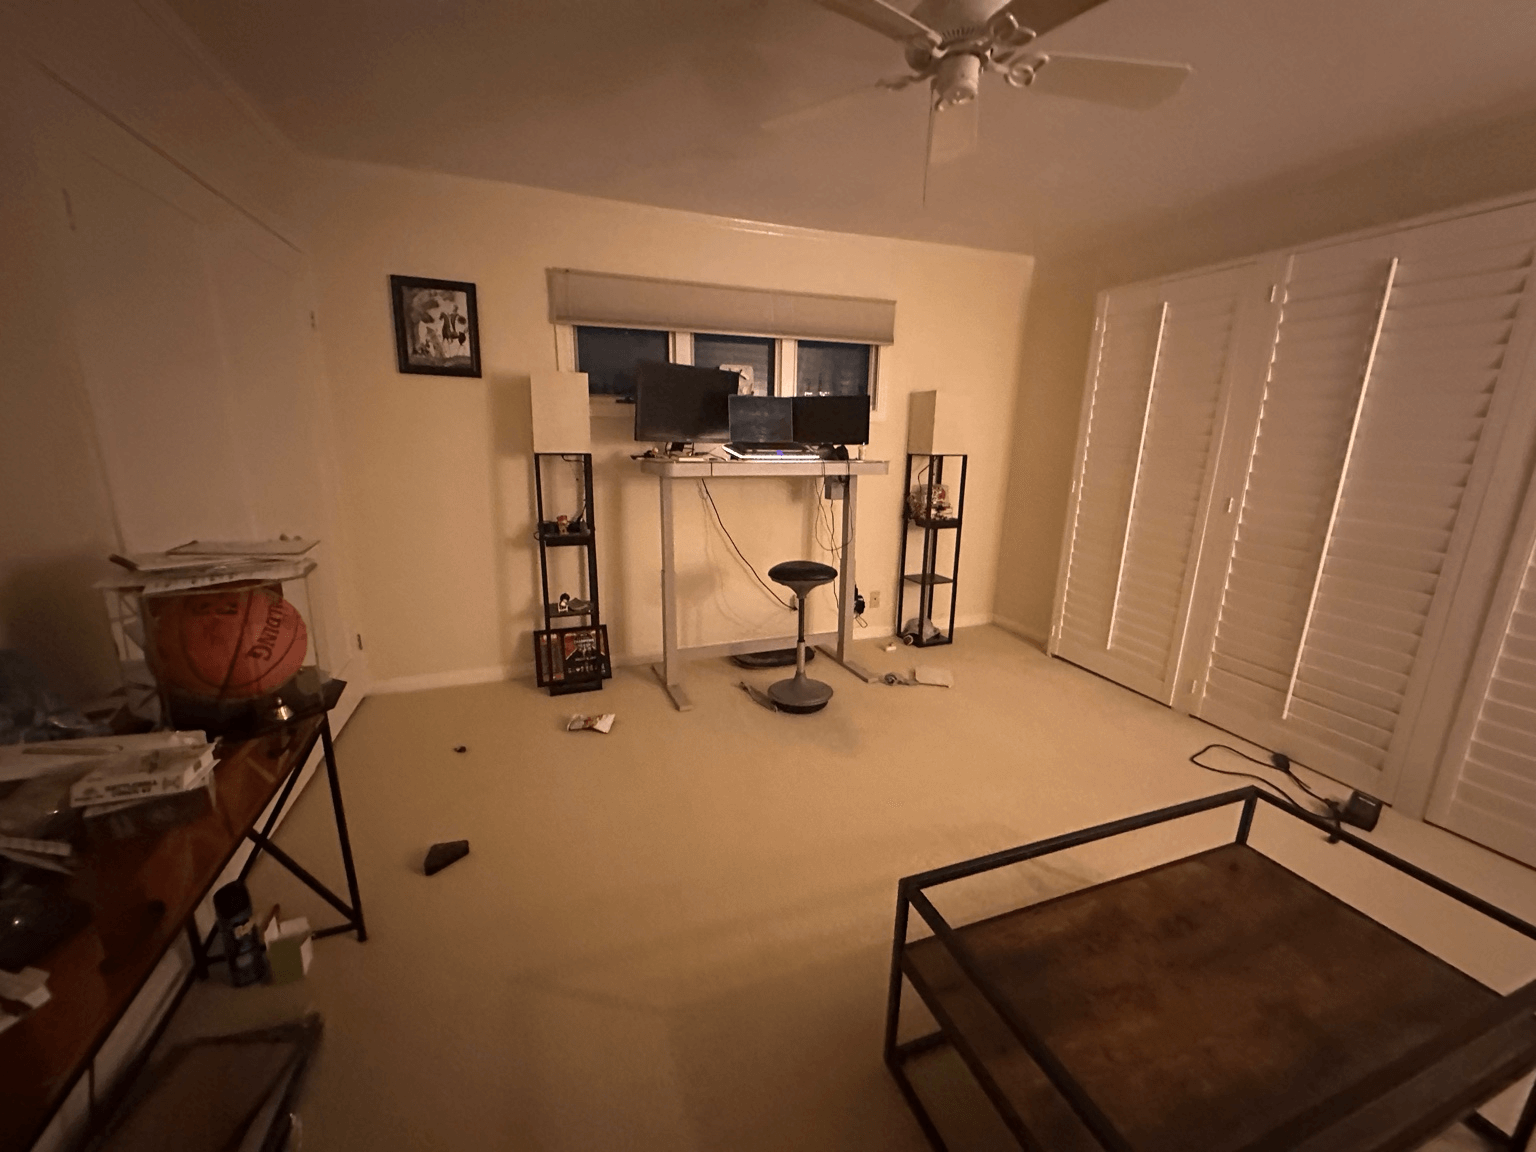
Step 1: Take honest, unfiltered photos of the current room
You don’t need your space to be “guest ready” clean, just take enough accurate photos of your space.
I uploaded things like:
- All four walls/areas of the room
- The desk setup
- The couch, rug, lamp, cat tree — everything
This gave AI a realistic canvas to work with.
Step 2: Upload the furniture & decor you’re considering
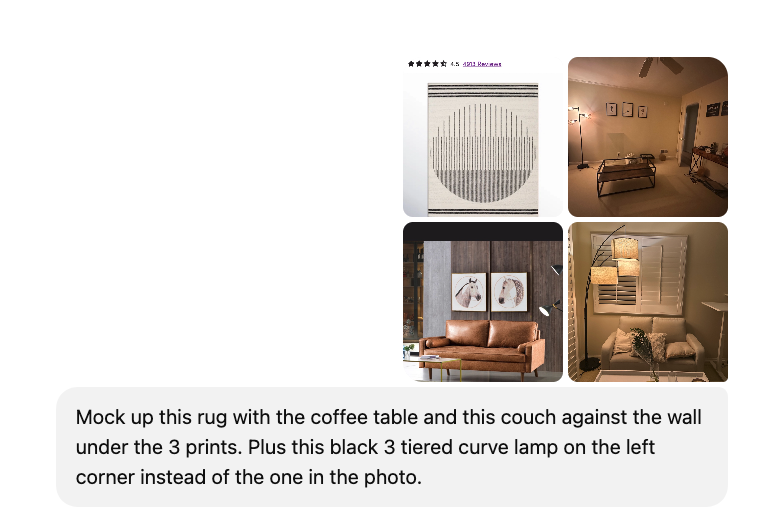
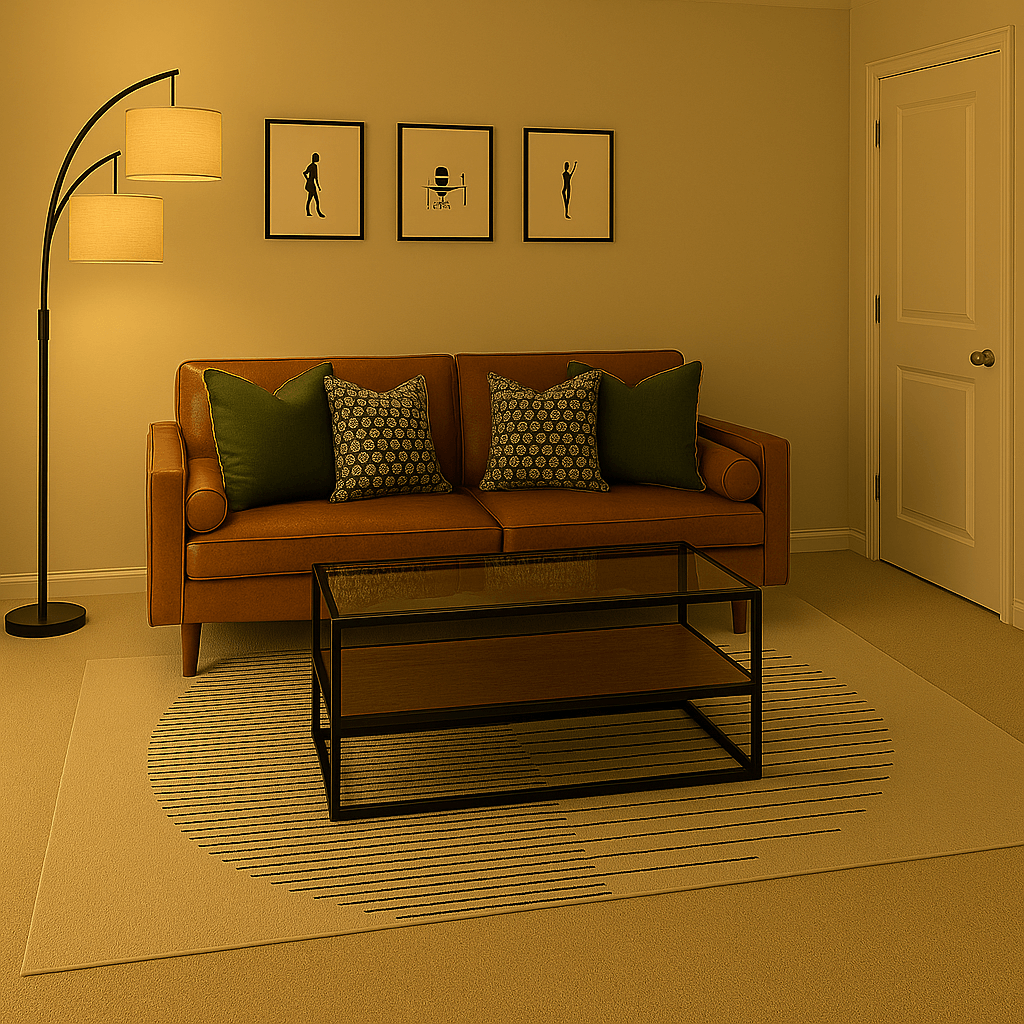
When I was choosing throw pillows, lamps, shelving, rugs, potential seating (chairs vs. chaise), etc., I uploaded actual product photos and asked AI to show me how each piece would look inside my room, at scale.
This helped me nix a few items I was considering purchasing.
The prompt:
The mockup:
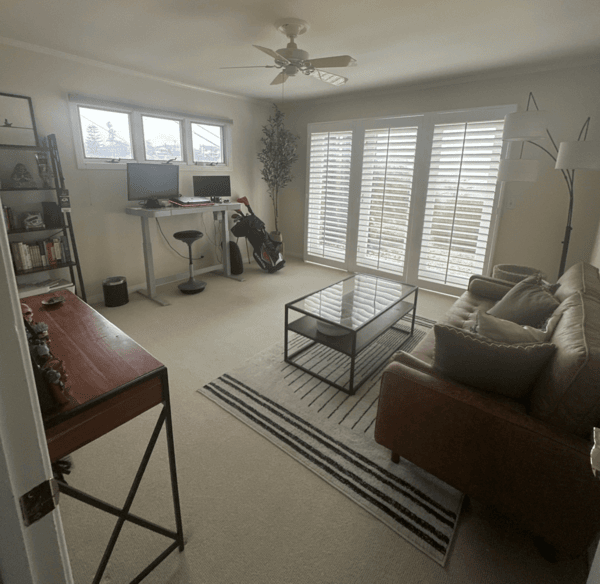
My husband’s real office:
Step 3: Include key dimensions
AI mockups get 10× more accurate when you drop dimensions in the chat.
I added things like:
- Room width & depth
- The couch width (70″)
- Rug size (5×7)
- Coffee table length vs. couch length
- Distances between windows, doors, and corners
It’s the reason the mockups looked almost exactly like my real room.
Step 4: Ask for layout options
I asked AI to show variations:
- Rug forward vs. backward
- Lamp moved to different corners
- Shelf vs. cabinet vs. nothing
- Throw pillow arrangements and combinations (yes, we had a whole pillow saga 😂)
I tweaked the layout until everything felt right.
Step 5: Snap progress pics + let AI “audit” the room
As I made changes — moved the rug, built the ladder shelf, swapped pillows, shifted the lamp — I’d take a quick photo and upload it. This is where AI became my real-time interior designer.
Here are the exact prompts that helped the most:
“What looks off in this photo?”
Great for catching things your eyes stop noticing (rug placement, pillow balance, clutter pockets).
“Give me 2–3 micro-adjustments to make this look more intentional.”
AI suggested tiny fixes like shifting furniture a few inches, re-layering pillows, or balancing shelf height.
“Show me this same room with ______ moved/removed/replaced.”
I used this constantly for lamps, shelves, rugs, and chair/chaise options.
“What would a designer do next?”
AI gave the finishing touches: contrast, symmetry, proportion notes I wouldn’t have thought of.
All of those small adjustments added up, and the final space feels intentional, functional, and so much more “him.”
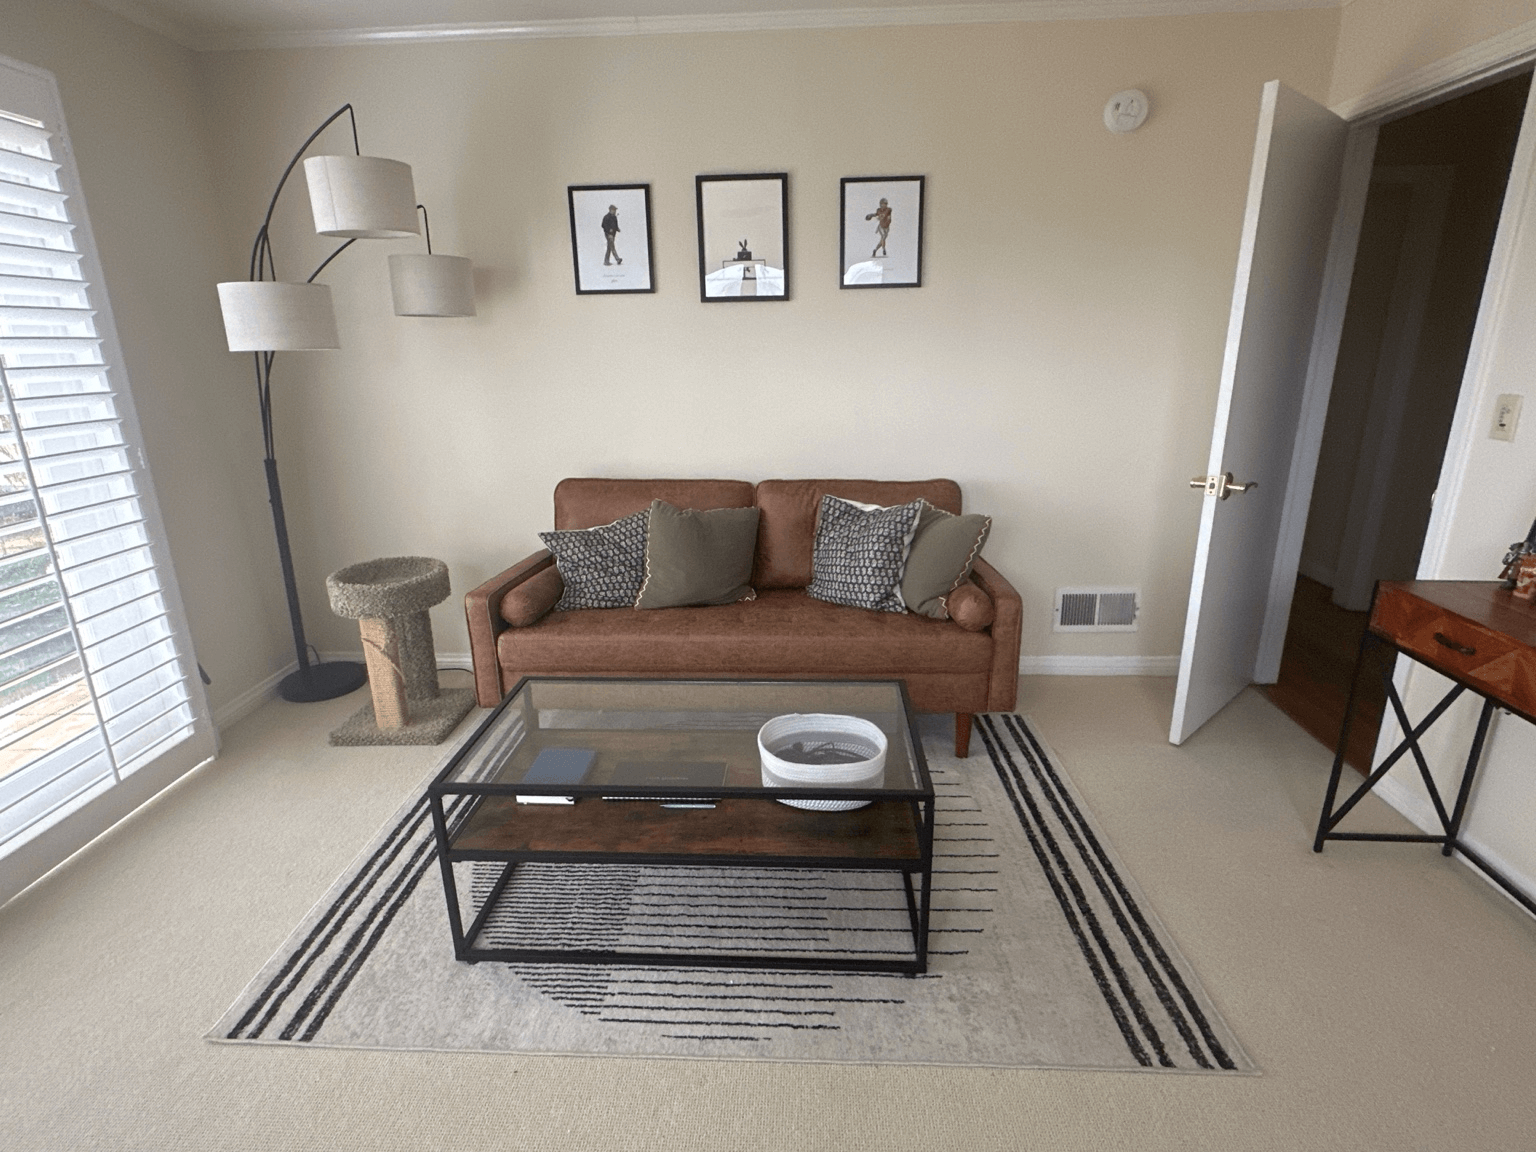
And because I live for a good makeover…here’s the finished space.
Before:
After:
Until the next makeover moment…

Joanna (TA Co-Founder)






 Upcoming Events